


How to Update Your Facebook Brand Page to Timeline: A Complete Guide
WANT TO SEE MORE LIKE THIS?
Sign up to receive an alert for our latest articles on design and stuff that makes you go "Hmmm?"
Facebook Timeline for brand pages, which had a March 30th deadline for activation, allows companies to enhance consumer interaction through creative imagery and customized content. Brands can leverage this new format to tell their story visually, showcasing stunning imagery with an 851px by 315px cover photo and custom-designed application thumbnails. This update enables businesses to connect with visitors in a more engaging way, bringing their brand story to life on the social network.

Whether you like it or not, Facebook is changing once again! The days of thumbnail sized pictures, underscored with lines of text are gone. The social network has already rolled out its new Timeline format, and has given all brand pages a March 30th deadline to make the switch! After that, Facebook will automatically activate Timeline for you.
Yes, change can be intimidating. But, brands can use the Timeline platform to their advantage! If customized properly, the new Timeline will drive consumer interaction and connect with visitors in an entirely new way.
In order to update your company page, a little design strategy goes a long way. Timeline capitalizes on the growing influence behind creative imagery used to draw in consumers. Brands can showcase stunning imagery at the forefront of their page and entice consumers to further interact with customized content and visuals.
If you have no clue where to begin when updating your page to Timeline, just follow the simple guide below in which we cover the basics. Your brand story will be brought to life via Facebook in no time!
*Note: You have the option to switch the Timeline “Preview” on for your page. This allows that ONLY YOU can see your new profile as you make changes. Once your page is ready to make the big switch, you can “Publish” for the rest of the world to see!
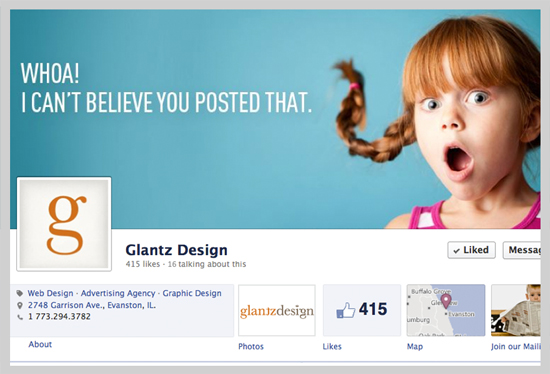
How should you update your Facebook Timeline cover photo?
To update your Facebook Timeline cover photo, ensure the 851px by 315px banner reflects your brand personality, making it interesting and relevant. This image is the first thing people see when they visit your page. Remember to avoid calls to action, price information, or contact details in your cover photo due to Facebook’s restrictions.
- Calls to action (“Like Us” or “Share”)
- Price or purchase information
- Contact information
How do you update your Facebook Timeline profile picture?
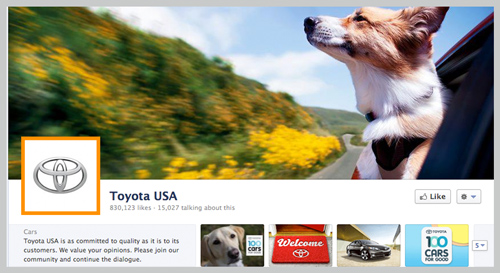
The profile thumbnail will overlay the brand cover image, and should be uploaded at 180px by 180px (even though it is displayed at 125px by 125px). This is a great place to display your logo.
How do you customize applications on Facebook Timeline?
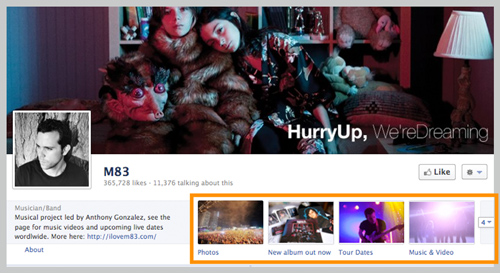
One of the biggest differences in the Timeline is the customizable Applications. In the old format, standard applications appeared on the left navigation sidebar as text links with fixed icons. Now, they appear as large thumbnails, which can be custom designed. While only 4 Apps are on display at one time, you can have up to 16 in total. You can choose 3 of the 4 Applications you want to feature on the top of the page (the Photos tab is fixed).
To Customize Apps and Images:
- Click on the pencil that appears when rolling over the current Application image
- Select Editing Settings
- Click Change next to the ‘Custom Tab Image’
- Images to represent each Application should be uploaded at 111px by 74px
How should you use the 'About' section on Facebook Timeline?
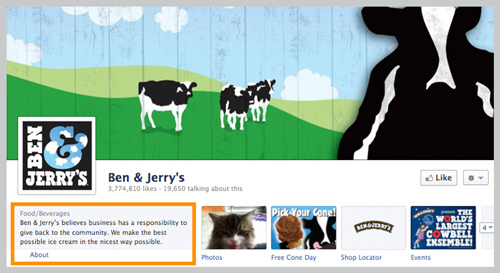
Beneath the cover photo and page stats, users can click on the ‘About’ link to learn basic information about your brand. It’s important to draft a brief, yet impactful statement that simplifies your brand story for visitors, before they dive further into your page. This is also a good place to include your contact information and URL.
What other Facebook Timeline features should you explore?
Highlighted Posts: When users visit your page, they see a combination of highlighted stores. The Timeline allows you to go back through the timeline and “star” your best photos, stores and links that are still relevant, bringing them back to the surface and promoting consumer engagement. You can also remove any posts that are negative, irrelevant, or outdated.
Milestones: You can go back in the Timeline and publish significant milestones and events in your brand’s history. This is best done through photos or video posts.
Pinning: You have the option of pinning a post to the top of your feed each week. This is great for drawing attention to relevant information, such as promotional details, upcoming events or special contests.
We’d love to see your creative new look. Share your Timelines with us below by posting the URL in the comments so we can come and visit! Check out our Timeline here.