The Picture Perfect Method for Team Bio Page Photos

WANT TO SEE MORE LIKE THIS?
Sign up to receive an alert for our latest articles on design and stuff that makes you go "Hmmm?"
Clients and employees alike appreciate a good team or bio page on a website. These pages promote individuals and add a human touch to your brand. However, achieving consistent and professional-looking photos is a daunting task. Even hiring a professional requires coordinating photoshoots with multiple offices or virtual coworkers.
We often opt for collecting photos from individuals or using LinkedIn headshots. But this DIY route leads to varying backgrounds, disjointed camera angles, and inconsistency. That is why we developed a guide for helping members of your organization take great team bio photos.
Setting Up a Photo’s Framing
Creating unified team bio images starts before the photo is even taken. The proper setup can drastically alter the success of your photo. Providing a clear guide to those taking their photos ensures uniformity.
These days a high-quality camera is not hard to find. Any smartphone purchased in the last two to three years has one built in. For those without smartphones, a “point and shoot” camera made in the last three to four years will also do the trick. Avoid cameras used for video calls (either external or built-in to a computer). They result in low-resolution images.
After finding an acceptable camera, focus on the framing, background, and lighting of the photo.
Framing the Subject
Giving specific instructions will immediately improve consistency in your organization’s team bio photos. People need the most instruction when framing a photo. Framing is generally thought of as the angle, subject positioning, and camera positioning (portrait or landscape) of a photo. Tripods coupled with a camera’s timer setting are useful tools for taking a photo by yourself. Tripods are available both for cameras and phones. You may prefer to ask a friend or family member to avoid the need for more equipment. Either approach works as long as there are no selfies!
When you are framing your subject with either method remember to take the photo from the waist up. Shots of the subject’s full body will lead to quality issues when cropped in the editing phase. No part of the subject’s face or head should be out of the shot and angling the camera at eye level with the subject is key. If you angle the camera up at the subject from below or down at them from above, you might distort the photo. These varying angles can also create inconsistencies.
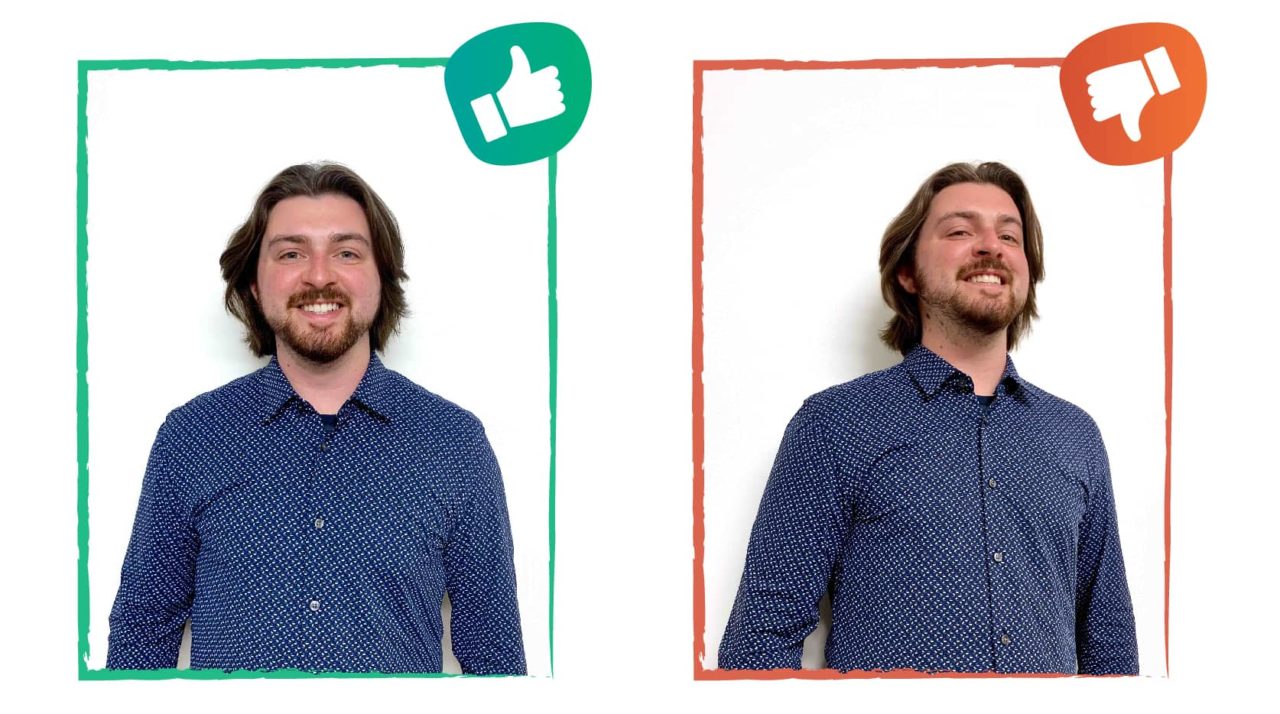
Position your subject so that they are looking into the camera and their face is fully visible. They should dress in whatever they would wear when meeting a client or customer for the first time. Lastly, don’t forget to smile!
Choosing a Background
A standardized background is one of the main ways professional photographers create consistency. Even without all the professional green screens and lighting, simple standard backgrounds go a long way.
The simplest backgrounds are usually the best for at-home photos. A white wall as the background works well, but if white is not available near-white is also acceptable. Purchasing a large sheet of white paper and taping it to the wall is another option. Nothing should be on your wall. Things like doors, plants, or picture frames will detract from the portrait.
Above all else, the backgrounds must be the same across all the team bio photos on your website. Whether everyone uses all light backgrounds, all dark backgrounds, or all blurred backgrounds. Consistency is truly key.

Using Proper Lighting
With the proper background and framing, the final step is creating the best lighting. Lighting is often the most arduous task for photographers. Professionals spend a lot of time, energy, and money on professional lighting equipment. Without that gear, most of us are at the mercy of the quality of lighting in our homes coming through our windows. This can cause problems as there are many crucial dos and don’ts when working with limited light sources.
Lighting Mistakes to Avoid:
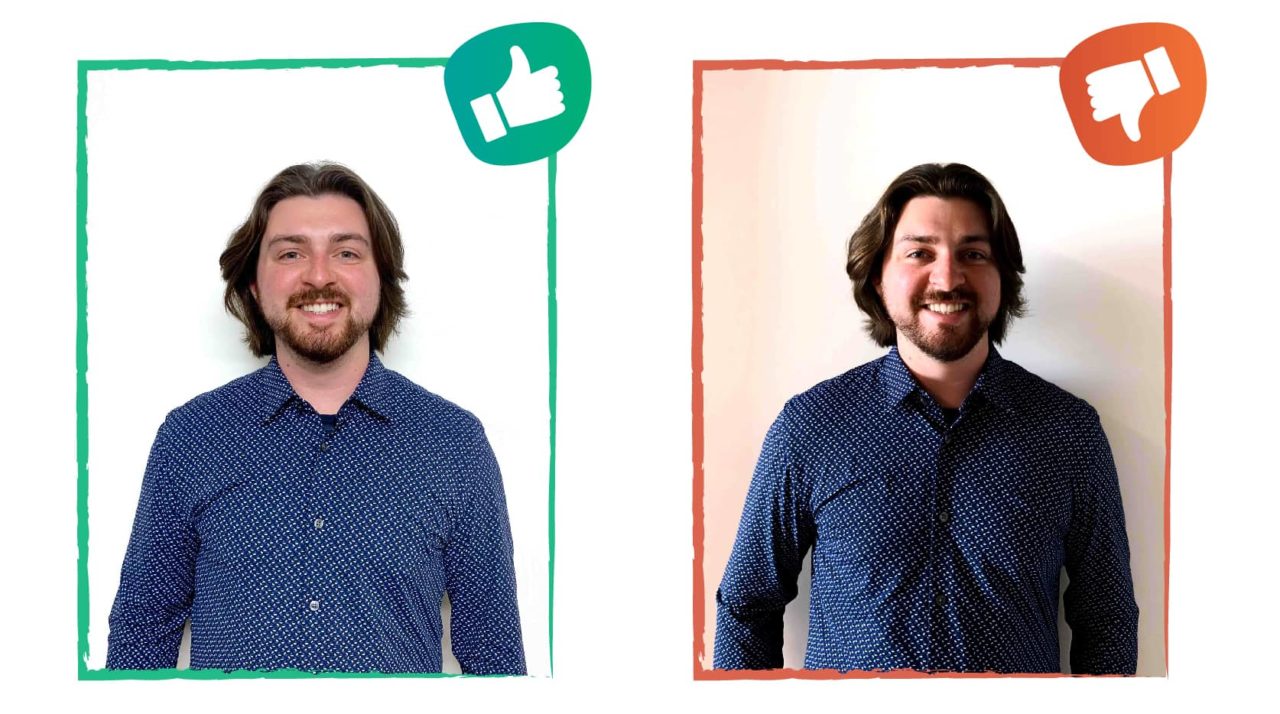
Going outside to take a photo with direct sunlight may seem like a good idea at first. Unfortunately, direct sunlight can cause harsh highlights and unforgiving shadows. Direct sunlight is also hard on your subject’s eyes; nobody wants a squinty photo! Similarly, watch out for any bright lights in the background of your photo, such as windows or lamps. Bright lights in the background cause backlighting. This will make your subject a dark silhouette against the bright light behind them.
Lighting Tips to Incorporate:
Have more light on the subject than on the background. You may want to set up a lamp in front of your subject. You can even buy light bulbs that say “color temperature 5500k” on the box. Those will look the most natural when lighting your subject. You should also take photos in a brighter, well-lit room if possible. Lastly, experiment! Even professionals don’t get lighting right on the first try. Moving the lights around and trying multiple shots can help you find what’s best.
Editing the Photos
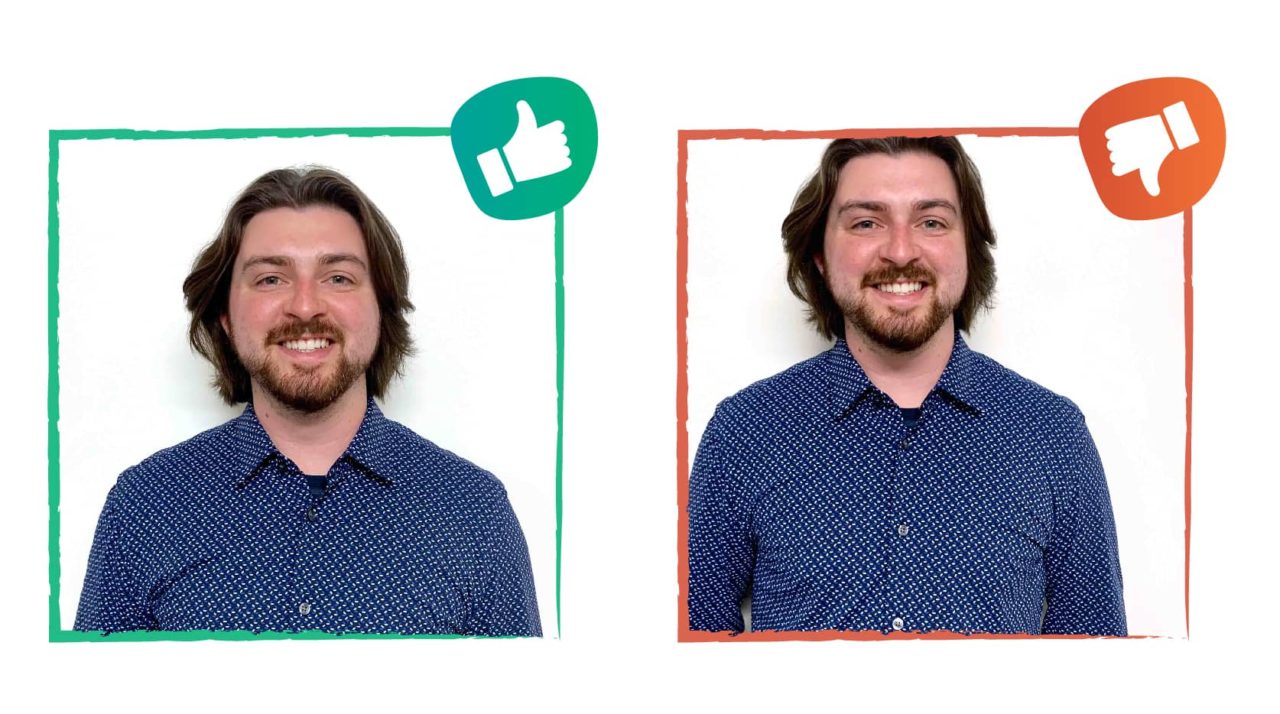
You will want to edit your photos as a batch once they are all submitted for added consistency. Cropping your photos is an important last step in the process. Cropping can help remove any final inconsistencies or detractors in the image.
Cropping photos ensures they all display uniformly on your website at the end of the process. iPhone and Android smartphones all have built-in photo editing applications. The “square” aspect ratio (size and shape of the photo) is the best preset for team bio photos. Focus on where your subject’s head and shoulders fit within the square. Center and crop each photo with similar headroom.
Once you have cropped your photos, the last step of the editing progress is file formatting. Formatting ensures your photos will display properly when uploading them to your website.
Formatting Best Practice Rules:
- Images should be in jpg (flat) or png (transparent) formats
- Try to keep each image under 500 KB. This is a general standard but can change depending on your website. The image should be the same size as the largest allowable image on your website to avoid stretching. If you need to make a file smaller, free compression tools like Squoosh.app can help
- If you export an image on Photoshop, keep the quality around 85/100. Also make sure to export it as progressive, not optimized.
Conclusion
Team bio photos are only as strong as the ones surrounding them on the webpage. Providing clear instructions will ensure consistent and professional photos without hiring a professional. Focusing on framing, backgrounds, and lighting will make your team bio page shine!
